News
Graphics Card Repair: A Complete Diagnostic and Fixing Guide

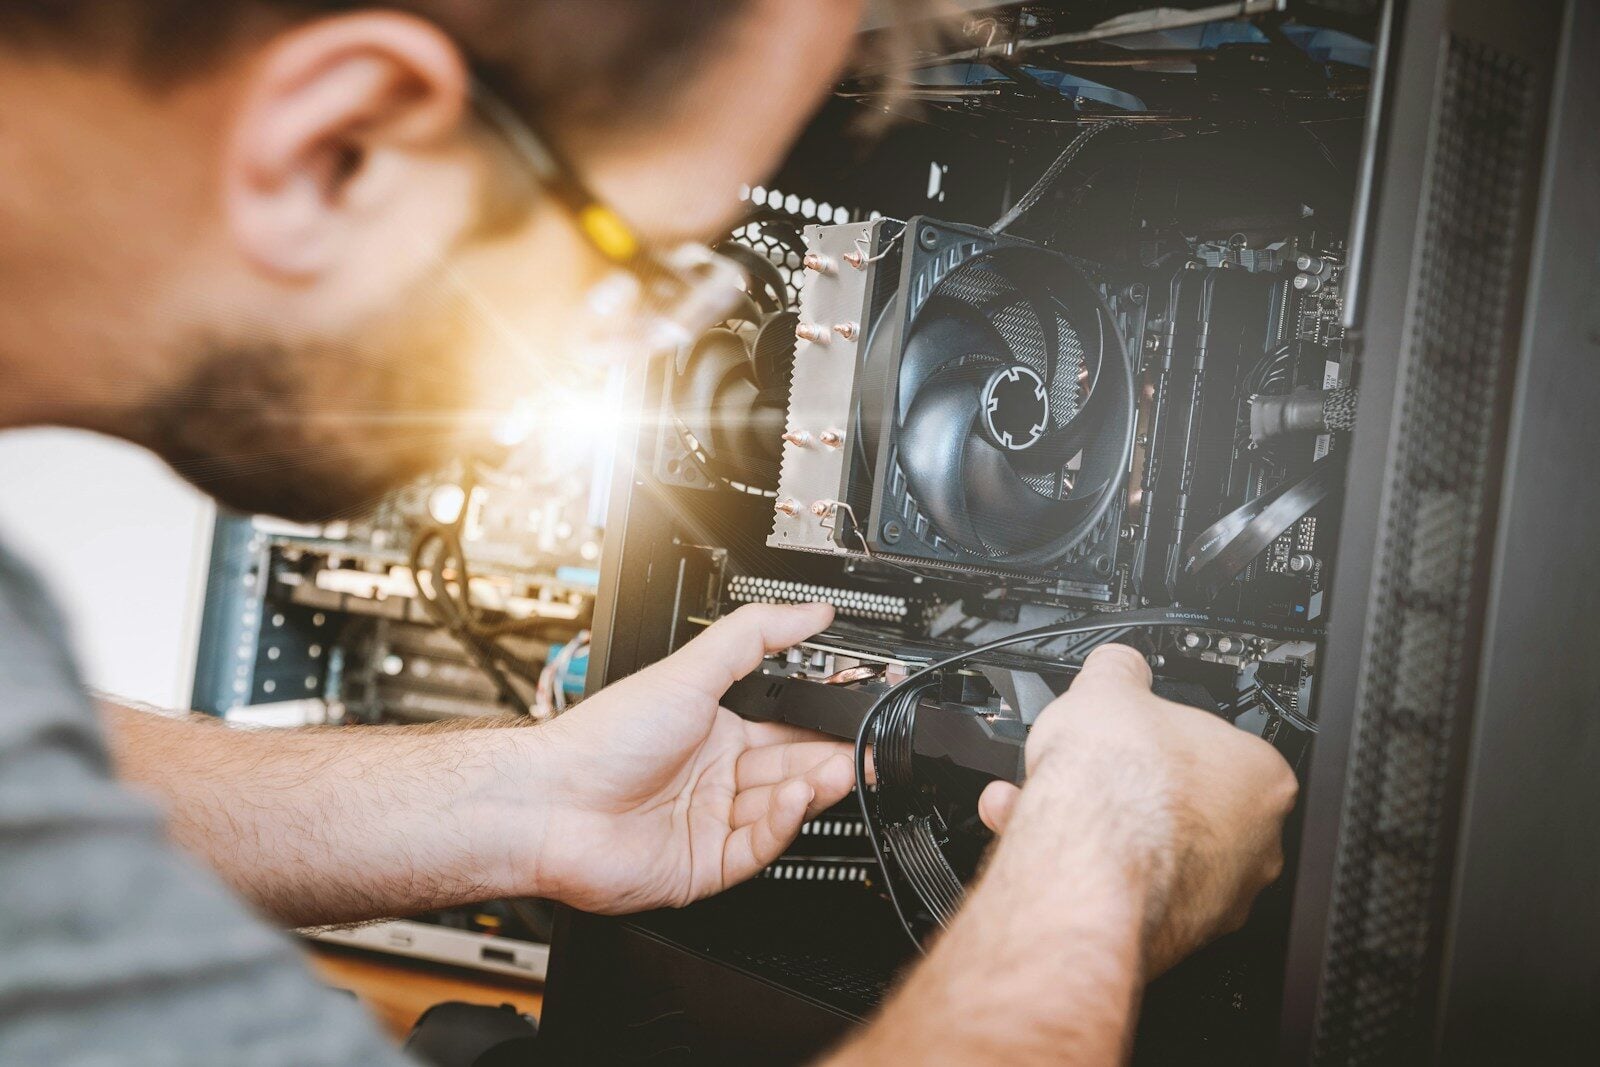
In a nutshell: GPU repair is the troubleshooting and repair of GPU issues, ranging from minor issues like crashes and thermal throttling all the way to major hardware failures like burnt power MOSFETs or failing VRAM that can bring back video output and stability without the costly replacement.
Before you shell out hundreds, or even thousands of dollars to purchase a brand-new GPU, understanding what’s actually going wrong beneath the heatsink is crucial. Below, we walk you through how to accurately diagnose a GPU failure, how to do basic to advanced GPU repair safely, how to judge if repair is worth it versus replacing the whole GPU, and how to avoid common costly mistakes that can permanently damage hardware.
What Causes GPU Failure?
GPUs are high precision electronics that are subjected to high levels of thermal and electrical stress. Over time, they naturally degrade from heat cycles and heavy electrical loads.
Thermal Degradation: Thermal paste and pads degrade over time from excessive heat, causing thermal throttling, core instability, and eventually solder joint cracking under the BGA package.
Power Delivery Failure: VRMs, MOSFETs, and capacitors are all subjected to extreme electrical stress. Powering the board often fails when a MOSFET is shorted.
VRAM Degradation: GPUs use very high frequency video RAM chips that are working at a very high temperature. Memory failure causes visually corrupt images, memory BSODs, or a black screen under load.
Physical Damage: Physical damage like sagging GPUs, bent PCIe trace pins, cracked boards, or moisture can break critical signal paths.
Basic vs. Advanced Graphics Card Repair
Understanding the boundary between a DIY-friendly fix and a job requiring specialized lab equipment prevents unnecessary hardware damage.
| Diagnostic / Repair Level | Common Symptoms | Tools Required | Difficulty |
| Level 1: Software & Firmware | Driver crashes, display flickering, wrong resolution | Display Driver Uninstaller (DDU), NVFlash / AMD VBios Tools | Beginner |
| Level 2: Thermal Maintenance | High fan speed, thermal throttling, unexpected shutdown under load | Isopropyl Alcohol (99%), High-grade Thermal Paste, Thermal Pads | Intermediate |
| Level 3: Component Inspection | System short circuit, power LED off, no display | Digital Multimeter, Thermal Camera, Microscope | Advanced |
| Level 4: Micro-soldering & BGA | Cracked solder joints, dead VRAM chip, shorted VRM | Hot Air Rework Station, Soldering Iron, Flux, Replacement Chips | Expert |
5 Steps to Diagnose and Repair a Faulty GPU
Diagnosing hardware issues requires a structured method. Follow these steps to isolate software issues from physical board failure.
- Perform a Clean Driver Reinstallation : Software corruption often mirrors hardware failure. Boot Windows into Safe Mode, run Display Driver Uninstaller (DDU) to wipe existing display drivers, and install the latest WHQL driver directly from NVIDIA or AMD.
- Inspect Physical Power Connections and PCIe Slot : Reseat the graphics card firm into the primary PCIe slot. Ensure all PCIe power cables (6-pin, 8-pin, or 12VHPWR connectors) are firmly seated without extreme bending near the plug.
- Check Voltages with a Digital Multimeter : If the GPU produces no display, remove the card and check major power rails for short circuits relative to ground. Measure resistance on the 12V bus, 3.3V bus, VCORE, VDDCI, and VMEM rails before supplying power.
- Replace Thermal Interface Materials : If temperatures exceed 85°C on the core or 105°C on VRAM junction, disassemble the cooler. Clean the old paste using 99% isopropyl alcohol, reapply a high-viscosity thermal paste, and replace degraded thermal pads with correct millimeter thickness.
- Isolate Bad VRAM Chips Using Testing Scripts : Visual artifacts (space invaders, pink lines, checkered patterns) usually indicate corrupted VRAM. Run specialized memory testing tools like MODS/MATS for NVIDIA cards to pinpoint the exact memory channel and chip requiring replacement.
Practical Examples and Common Repair Mistakes
Attempting board-level repairs without proper techniques leads to unrecoverable damage. Here are real-world examples and pitfalls to avoid.
Real Example: Fixing a Shorted Power Rail
A card causes the system PSU to trip immediately upon hitting the power button. Testing reveals a short circuit on the 12V PCIe power rail. Under a thermal camera or using rosin flux atomization, a single shorted MOSFET lights up under low voltage injection (1V/2A limit). Desoldering the shorted MOSFET and replacing it along with its corresponding gate driver restores full board functionality.
Common Mistakes to Avoid
- Baking the GPU in an Oven: Baking a graphics card in a kitchen oven is an unreliable hack. It releases toxic chemical fumes into cooking appliances and rarely creates a permanent fix because it fails to replace oxidized solder or fix broken silicon dies.
- Using Incorrect Thermal Pad Thickness: Using thermal pads that are too thick prevents the cooler from contacting the GPU die properly, causing immediate overheating. Using pads that are too thin leaves VRAM or VRM components uncooled.
- Ignoring ESD Precautions: Electrostatic discharge can kill sensitive ICs like the GPU core controller before repair work even begins.
Pros and Cons of Professional GPU Repair
Deciding whether to send a card to a professional repair lab depends on hardware value and defect severity.
Pros
- Cost Savings: Repairing a high-end graphics card typically costs 15% to 30% of the replacement price.
- E-Waste Reduction: Component replacement prevents functional hardware from ending up in landfills.
- Data & Workflow Continuity: Keeps existing workstation setups and custom cooling rigs intact without requiring system upgrades.
Cons
- No Guarantee on Silicon Health: If the main GPU die itself suffers internal degradation, component-level repair cannot permanently save the card.
- Labor Costs on Budget Cards: Diagnostic and micro-soldering labor often exceeds the market value of older or budget-tier GPUs.
Reliable Technical Resources
For technical reference charts, pinout diagrams, and community-verified schematics, check these resources:
- Review detailed hardware teardowns and thermal benchmarks on TechPowerUp.
- Explore hardware repair guides and component safety standards on iFixit.
Frequently Asked Questions
Is it worth repairing an older graphics card?
It depends on market value. If the repair cost exceeds 50% of a used replacement card of equal performance, replacing it is generally wiser. For mid-to-high-tier models, repair offers substantial savings.
What are the signs that a GPU die is dead?
A dead core usually presents as a direct short on the primary VCORE rail with zero resistance to ground, or a card that powers on with all correct voltages but fails to initialize on the PCIe bus even after BIOS reflashing and VRAM verification.
How much does professional board-level GPU repair cost?
Basic thermal maintenance or minor BIOS recovery ranges between $50 and $100. Advanced micro-soldering, short isolation, or VRAM replacement typically ranges from $120 to $250 depending on part costs and lab time.



-

 Resources5 years ago
Why Companies Must Adopt Digital Documents
-

 Resources4 years ago
A Guide to Pickleball: The Latest, Greatest Sport You Might Not Know, But Should!
-

 Resources1 year ago
50 Best AI Free Tools in 2025 (Tried & Tested)
-

 Resources1 year ago
Get Paid $5000+ a month to write : Discover 30 Spectacular Websites That Reward Your Writing Effort