
Custom props, costume accessories, and display pieces often begin with a real object: a helmet, a hand-built form, a found component, or a sculpted reference. Capturing that object digitally can make it easier to resize, modify, combine with other parts, and prepare for fabrication. A digital capture gives makers a starting point for resizing, reshaping, or combining physical references in a CAD or modeling program.
A scan is not automatically ready to print. Raw data may contain holes, stray geometry, uneven surfaces, or details that are too thin for the chosen printer. A successful scan-to-print workflow therefore includes capture planning, mesh cleanup, scale checks, design decisions, slicing, and a small test print before the final build.
Choose the Right Object to Scan
Start by deciding what the scan should contribute. A decorative prop may need an overall silhouette and surface detail. A wearable piece needs fit, thickness, and room for movement. A complex accessory may need accurate mounting points or an interface with an existing part. Those requirements affect how close the scan must be, how many views to capture, and which areas need to be rebuilt in modeling software.
Prepare the object before capture. Remove loose dust, secure moving parts, and mark areas that need accurate dimensions. Reflective, transparent, or very dark surfaces may be challenging for optical systems, so consult the scanner’s guidance and test a small area before beginning a long session.
Capture More Than the Visible Front
Props and costume parts often have curved backs, recessed details, and edges that are hidden from a single viewpoint. Capture overlapping angles around the object, including the underside when possible. If the object is too large to scan in one pass, divide it into manageable regions and include enough shared geometry to align each section later.
Keep a few known measurements from calipers or a ruler. These provide a reference for checking scale after the scan is assembled. A model that looks right on screen can still be slightly too large or too small, and wearable pieces may need more than a simple uniform scale adjustment.
From Scan Data to a Printable Model
These stages connect capture to print preparation. The order may vary, but documenting design changes can prevent fit problems from surfacing after a long print.
| Stage | Key check | Why it matters |
| Capture | Coverage, overlap, stable object, reference dimensions | Creates complete data at a known scale |
| Mesh repair | Holes, stray fragments, non-manifold areas | Prepares geometry for editing and slicing |
| Design | Thickness, joints, clearances, fit | Adapts the model to its intended use |
| Slice | Orientation, supports, material, print time | Balances surface quality and strength |
| Test | Fit, assembly, movement, revisions | Finds issues before the final print |
Mesh repair should preserve the design intent. Close gaps only when the surface is meant to be continuous, and remove stray fragments that do not belong to the object. Where the scan lacks a clean edge or flat interface, rebuild that area with modeling tools instead of trusting an incomplete surface.
Design for the Printer, Not Only the Scanner
Scanned geometry can include detail that a printer cannot reproduce at the selected scale. Thin ridges, small holes, and sharp features may need to be thickened, enlarged, or simplified. Parts intended to fit together need tolerances that account for the printer, material, and assembly method. The scan describes the reference object; the final design must work as a manufactured object.
Check orientation and support
The model’s orientation affects surface finish, strength, and support material. A visually smooth surface may print poorly if it creates long overhangs or fragile contact points. Split a large prop into sections when that makes printing more reliable, then design alignment features such as pins, tabs, or keyed joints for assembly.
Test the part before committing
Print a small section or a low-cost fit test when the project depends on a tight interface. Check how the result sits against the original reference, whether fasteners align, and whether a wearable part moves comfortably. Record changes to dimensions and settings so that later revisions are easier to reproduce.
Selecting a Tool for Scan-to-Print Work
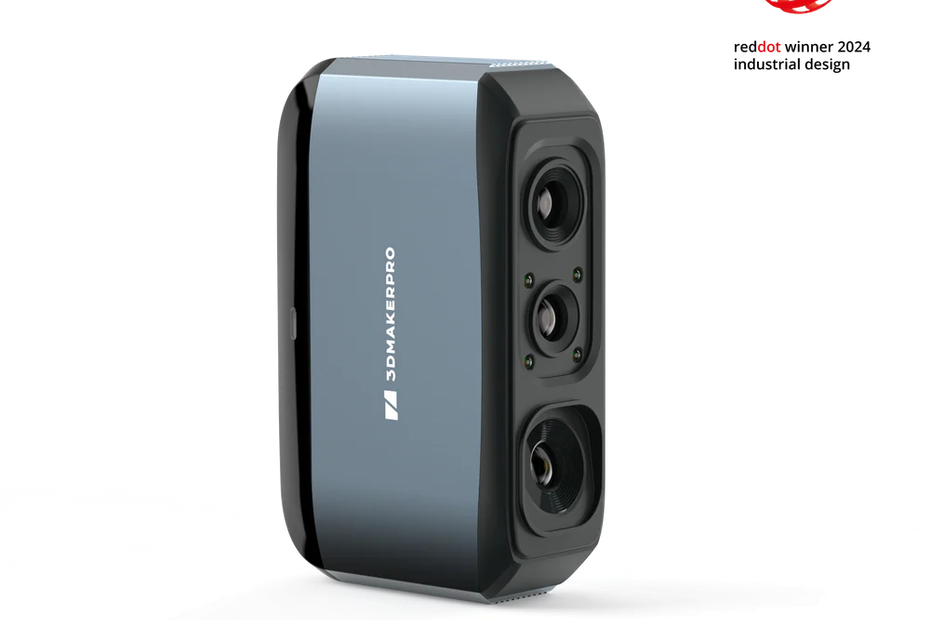
Choosing a 3D scanner for 3D printing starts with the object: its size, surface detail, and the edits the finished piece will need. A scan still needs to be cleaned up, checked for scale, and prepared for slicing before it becomes a printable model. A practical example is 3DMakerpro’s walkthrough of scanning, processing, and printing a skull.
For example, a medium-format handheld scanner may be practical for capturing props, sculptures, and mechanical pieces, while smaller scanners can suit compact items that demand close detail. The result still depends on capture conditions and the amount of mesh repair required, so a representative test object is more informative than a specification alone.
Keep Project Files Organized
Store the raw scan, cleaned mesh, editable design, and final print file as separate versions. Include units, scale, model orientation, and notes about repairs. For collaborative projects, agree on a naming convention before several makers begin editing the same asset. A clear file trail makes it easier to return to an earlier design when a later print reveals a problem.
Troubleshoot the First Print Before Scaling Up
If the first print is too large or too small, check units and scale in the scan-processing and slicing software before modifying the design. If mounting holes do not line up, compare their centers to direct measurements instead of stretching the entire model. If a curved surface looks uneven, inspect the raw capture and alignment before applying smoothing, since aggressive smoothing can erase features that the design needs.
A weak or fragile section may indicate that the scanned shell is too thin for the material or print orientation. Add thickness in the model and test a short section before printing the full prop. For assemblies, verify that each part has enough clearance for the material and printer being used; the same nominal dimensions can produce different fits across workflows.
Keep a short revision log that records what changed between capture, model, and print. This helps makers distinguish a scanner issue from a design adjustment or printer setting. It also makes it easier to repeat a successful build or return to an earlier version if later changes introduce a new problem.
Conclusion
Scan-to-print work connects a physical reference with a digital design and a fabricated result. A usable print depends on what happens after capture: repair the mesh, check scale, adapt the design to the printer, plan supports, and test the fit.
For props and cosplay, the scan is a reference rather than a print-ready design. Keep the original capture, record each edit, and check the finished part against the physical object.

Author: Kokou Adzo
Kokou Adzo is the editor and author of Startup.info. He is passionate about business and tech, and brings you the latest Startup news and information. He graduated from university of Siena (Italy) and Rennes (France) in Communications and Political Science with a Master's Degree. He manages the editorial operations at Startup.info.