Resources
How to Clean a Keyboard – Maintenance Guide

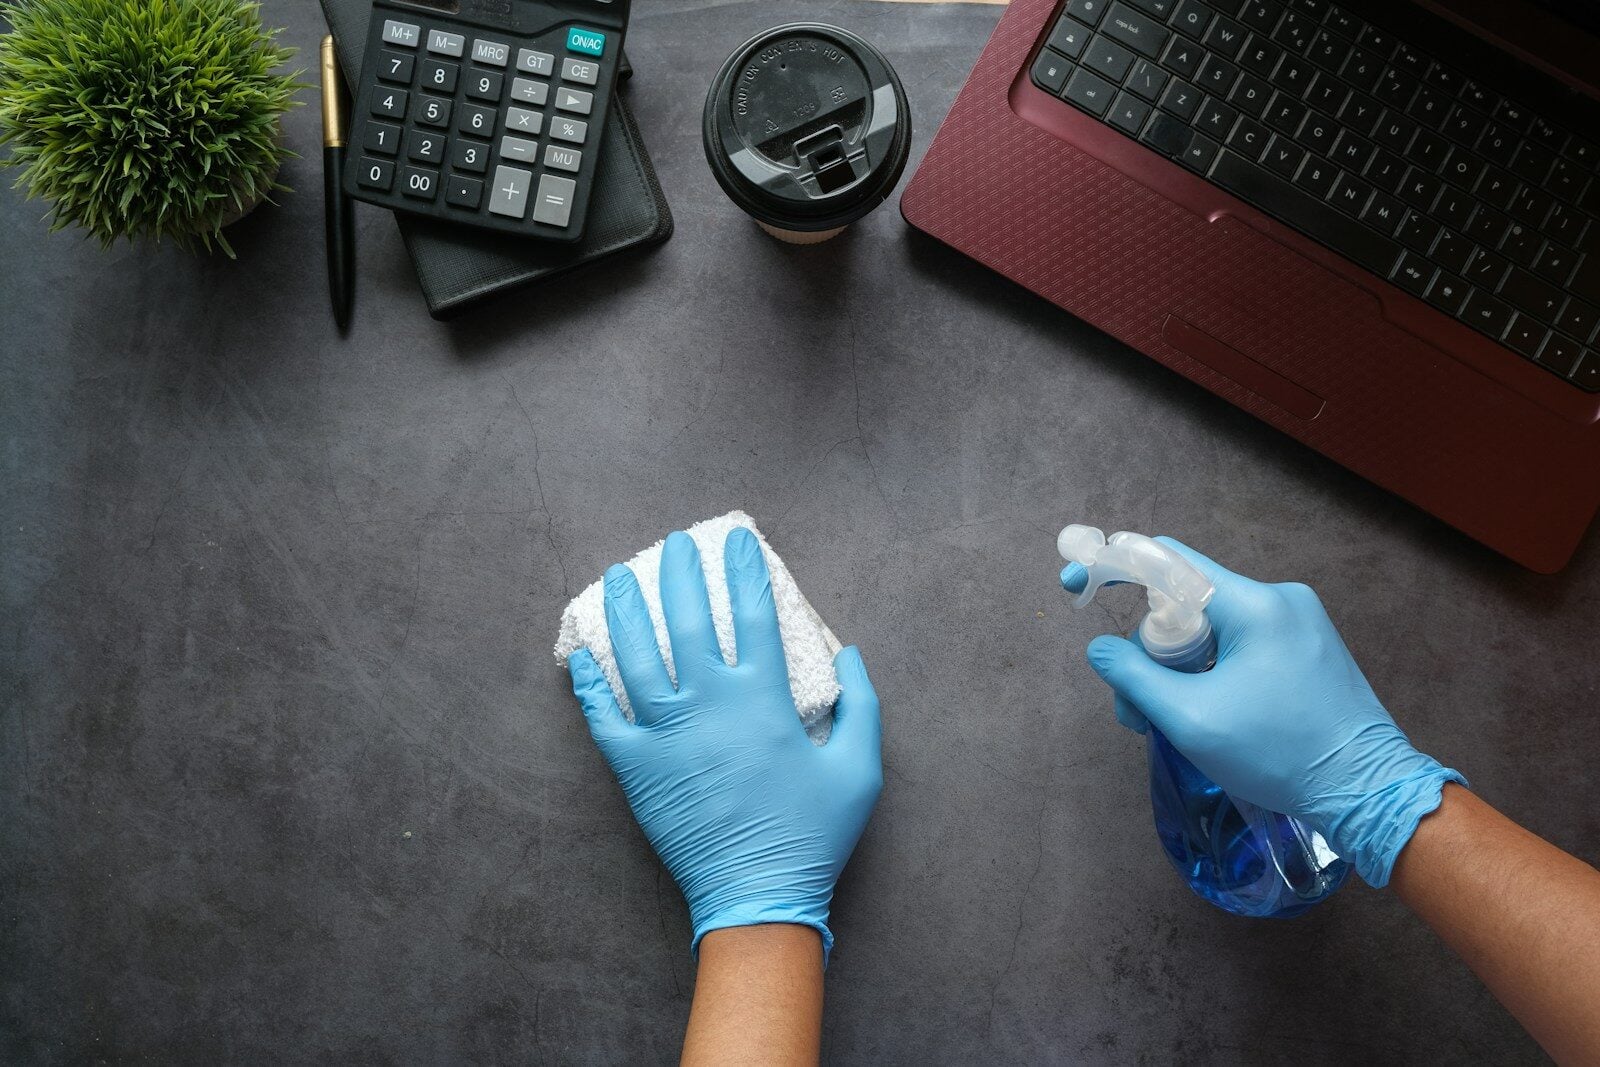
In Summary: To clean a keyboard properly, unplug it and tip it so debris can shake loose, then sweep between the keys using compressed air or a soft brush. Wipe with a microfiber cloth lightly soaped with alcohol (70% isopropyl) and a keycap puller for a deep mechanical sweep.
Please read this quick summary before you dig into the details. Maintaining a clean board is more than an aesthetic and more than a feeling; it affects your typing precision, your switches’ lifespan and your office hygiene. Here you will find exact step-by-step instructions for daily and deep cleaning, a table comparing the best methods, the key safety tips and some common errors that strip any sensitive internal circuitry.
Why Cleaning Your Keyboard Is Important
In a paper published by researchers from Swinburne University of Technology, it was found that a computer keyboard contains 400 times as much bacteria as a toilet seat. Under the cap, crumbs, skin flakes, hair and oils accumulate until they become a breeding ground for microbes and rapidly deteriorate the switch response.
Dust and debris accumulate over time beneath the keycaps, interfering with either the mechanical switches or the membrane domes. This can result in key chatter (typing a key twice) or unresponsive keys. Regular keyboard maintenance prolongs the life of the equipment, preserves the tactile sensation, and keeps the target area clean and professional.
Quick Method Comparison
There is no single right way to clean a keyboard for everyone, but the following table summarizes the four most successful techniques to match your keyboard type and usage pattern.
| Cleaning Method | Best For | Time Required | Effectiveness | Risk Level |
| Compressed Air & Microfiber | Daily Maintenance | 2–3 minutes | Moderate | Very Low |
| Cleaning Gel / Slime | Surface Dust & Cracks | 5 minutes | Moderate | Low |
| Isopropyl Alcohol Scrub | Oil & Grime Removal | 10 minutes | High | Low |
| Deep Keycap Disassembly | Mechanical Keyboards | 30–45 minutes | Maximum | Moderate |
What You Need Before Starting
Gather these essential tools before beginning the process to ensure quick and safe execution:
- Microfiber cloths: Ultra-soft towels that trap dust without scratching keycap surfaces or leaving lint behind.
- 70% Isopropyl Alcohol: The ideal solvent for breaking down oils and drying rapidly without harming electronics.
- Compressed air can: High-pressure air to blast trapped debris out of tight crevices.
- Keycap puller: A wire or plastic tool designed to safely remove mechanical keycaps without snapping switch stems.
- Soft-bristled brush: A dedicated detail brush or clean paintbrush to sweep away stubborn particles.
- Bowl and mild dish soap: For soaking plastic keycaps during deep maintenance.
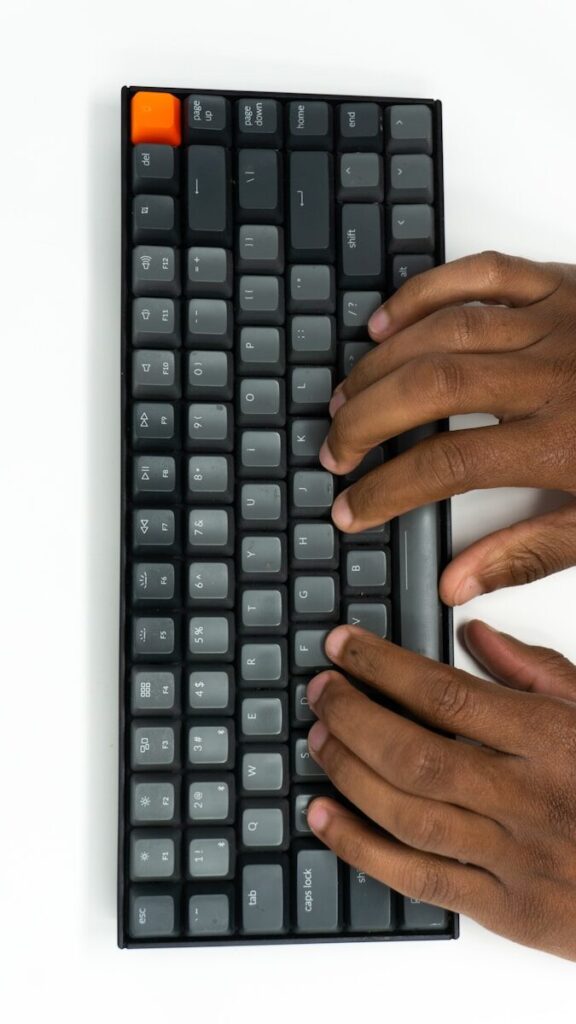
How to Clean a Keyboard for Daily Maintenance
For routine upkeep, a quick 3-minute sweep once or twice a week prevents deep grime buildup.
- Unplug or disconnect: Turn off your computer, disconnect the USB cable, or power off the Bluetooth switch to prevent accidental key presses and short circuits.
- Invert and tap: Hold the keyboard upside down over a trash bin or towel and gently tap the back to dislodge loose crumbs and debris.
- Blast with compressed air: Hold the air can upright at a 45-degree angle. Spray in short bursts from side to side across the key rows.
- Wipe down surfaces: Lightly moisten a microfiber cloth with 70% isopropyl alcohol—never soak it—and wipe down the top surfaces of the keycaps and frame.
Deep Cleaning Mechanical Keyboards Step-by-Step
Mechanical boards require a thorough deep-clean every 3 to 6 months, especially for heavy typists or gamers.
1. Disconnect and Document :Prerequisite.
Unplug the board entirely. Take a clear photo of the key layout with your phone to use as a reference when reassembling.
2. Remove the Keycaps :5 minutes.
Gently press a wire keycap puller down over each key until it hooks under the bottom edges, then pull straight up with even pressure. Avoid pulling at an angle to prevent damaging the switch stems.
3. Soak the Keycaps : 20 minutes.
Place the plastic keycaps into a bowl filled with warm water and 2–3 drops of mild dish soap. Let them soak for 20 minutes, then scrub them gently with a soft sponge, rinse thoroughly with cool water, and lay them face-down on a towel to dry completely.
4. Clean the Exposed Plate : 10 minutes.
While the keycaps dry, sweep away trapped hair and dust from the exposed switch plate using a soft brush and short bursts of compressed air.
5. Detail Around the Switches : 10 minutes.
Dampen a cotton swab with 70% isopropyl alcohol and carefully wipe the spaces between switches, removing built-up grease and grime.
6. Reassemble : Prerequisite.
Ensure the keycaps are 100% dry inside and out before snapping them back onto their corresponding switches using your reference photo.
Pros and Cons of Common Cleaning Tools
Selecting the right tools prevents accidental hardware damage.
Compressed Air
- Pros: Reaches tight spaces instantly; non-contact; completely dry.
- Cons: Can push debris deeper if held at an improper angle; running out of pressure quickly during heavy use.
Isopropyl Alcohol (70%)
- Pros: Dissolves skin oils effortlessly; evaporates almost instantly; sanitizes surfaces.
- Cons: Higher concentrations (90%+) can weaken or discolor certain plastic blends over time.
Cleaning Gel / Putty
- Pros: Excellent for catching surface dust; satisfying and quick to use.
- Cons: Can leave sticky residue behind if pressed too hard into deep switch gaps.
Practical Examples and Common Mistakes to Avoid
Real-World Cleaning Scenarios
- The Coffee Spill Emergency: Unplug the device immediately. Do not attempt to wipe it while powered on. Flip it upside down onto a bath towel, allow liquid to drain for at least 24 hours, and flush mechanical switches with high-purity isopropyl alcohol before reapplying power.
- Sticky Spacebar or Large Keys: Stabilizers under wide keys require delicate care. If a key feels mushy, pull the keycap straight up and inspect the wire stabilizer bar. Clean the area with a cotton swab and apply a tiny dab of non-conductive lubricant (such as Krytox 205g0) if necessary.
Critical Safety Precautions
Never spray liquids directly onto keycaps or between switches. Liquid ingress is the single primary cause of short circuits in desktop peripherals. Always apply solvents directly to your cloth or swab first.
Mistakes to Avoid
- Using Water Directly on Electronics: Water causes oxidation and short circuits. Always rely on quick-evaporating isopropyl alcohol for electronic components.
- Using Paper Towels: Paper products break apart during scrubbing, leaving behind micro-fibers and potentially scratching glossy keycap plastic.
- Reassembling While Damp: Trapping moisture under keycaps leads to internal corrosion or mold growth over time. Allow keycaps to air-dry for at least 6 to 8 hours.
- Using Acetone or Nail Polish Remover: Acetone dissolves ABS plastic—the material used in most standard keycaps—instantly ruining your hardware.
Detailed guidelines from the National Center for Health Research emphasize using non-abrasive cloths and proper ventilation when handling cleaning solvents on electronic equipment. Additionally, tech maintenance guides from iFixit highlight the importance of using static-safe brushes and wire keycap pullers over rigid plastic clips to prevent structural damage to mechanical switches.
Frequently Asked Questions
How often should I clean my keyboard?
Light surface cleaning with a microfiber cloth and compressed air should be done weekly. Deep cleaning, including keycap removal, is recommended every 3 to 6 months depending on usage and environment.
Can I wash keycaps in a dishwasher?
No. High heat in dishwashers warps ABS and PBT plastics, rendering keycaps unusable. Always hand-wash keycaps in lukewarm water with mild dish soap.
Is 99% isopropyl alcohol better than 70%?
For general keycap and plate cleaning, 70% is preferred because it evaporates slightly slower, allowing time to break down oils while remaining completely safe for electronics. 99% alcohol is reserved for direct PCB washing.
How do I clean a laptop keyboard safely?
Turn off and unplug the laptop completely. Hold it at a 75-degree angle and use short bursts of compressed air to dislodge crumbs. Wipe key surfaces with a damp, lint-free microfiber cloth using 70% isopropyl alcohol. Do not attempt to pull keycaps off a laptop unless servicing scissor switches specifically designed for removal.
What is the best way to remove sticky grime from keycaps?
A microfiber cloth dampened with 70% isopropyl alcohol removes grease instantly. For stubborn dirt, soak removed plastic keycaps in warm, soapy water for 20 minutes before gently scrubbing with a soft brush.
Maintaining your equipment with these simple routines keeps your setup looking brand new while extending its operational life. Whether performing quick daily dust-offs or full seasonal deep cleans, using the right tools and techniques ensures your switches remain responsive and pristine.



-

 Resources5 years ago
Why Companies Must Adopt Digital Documents
-

 Resources4 years ago
A Guide to Pickleball: The Latest, Greatest Sport You Might Not Know, But Should!
-

 Resources1 year ago
50 Best AI Free Tools in 2025 (Tried & Tested)
-

 Resources1 year ago
Get Paid $5000+ a month to write : Discover 30 Spectacular Websites That Reward Your Writing Effort